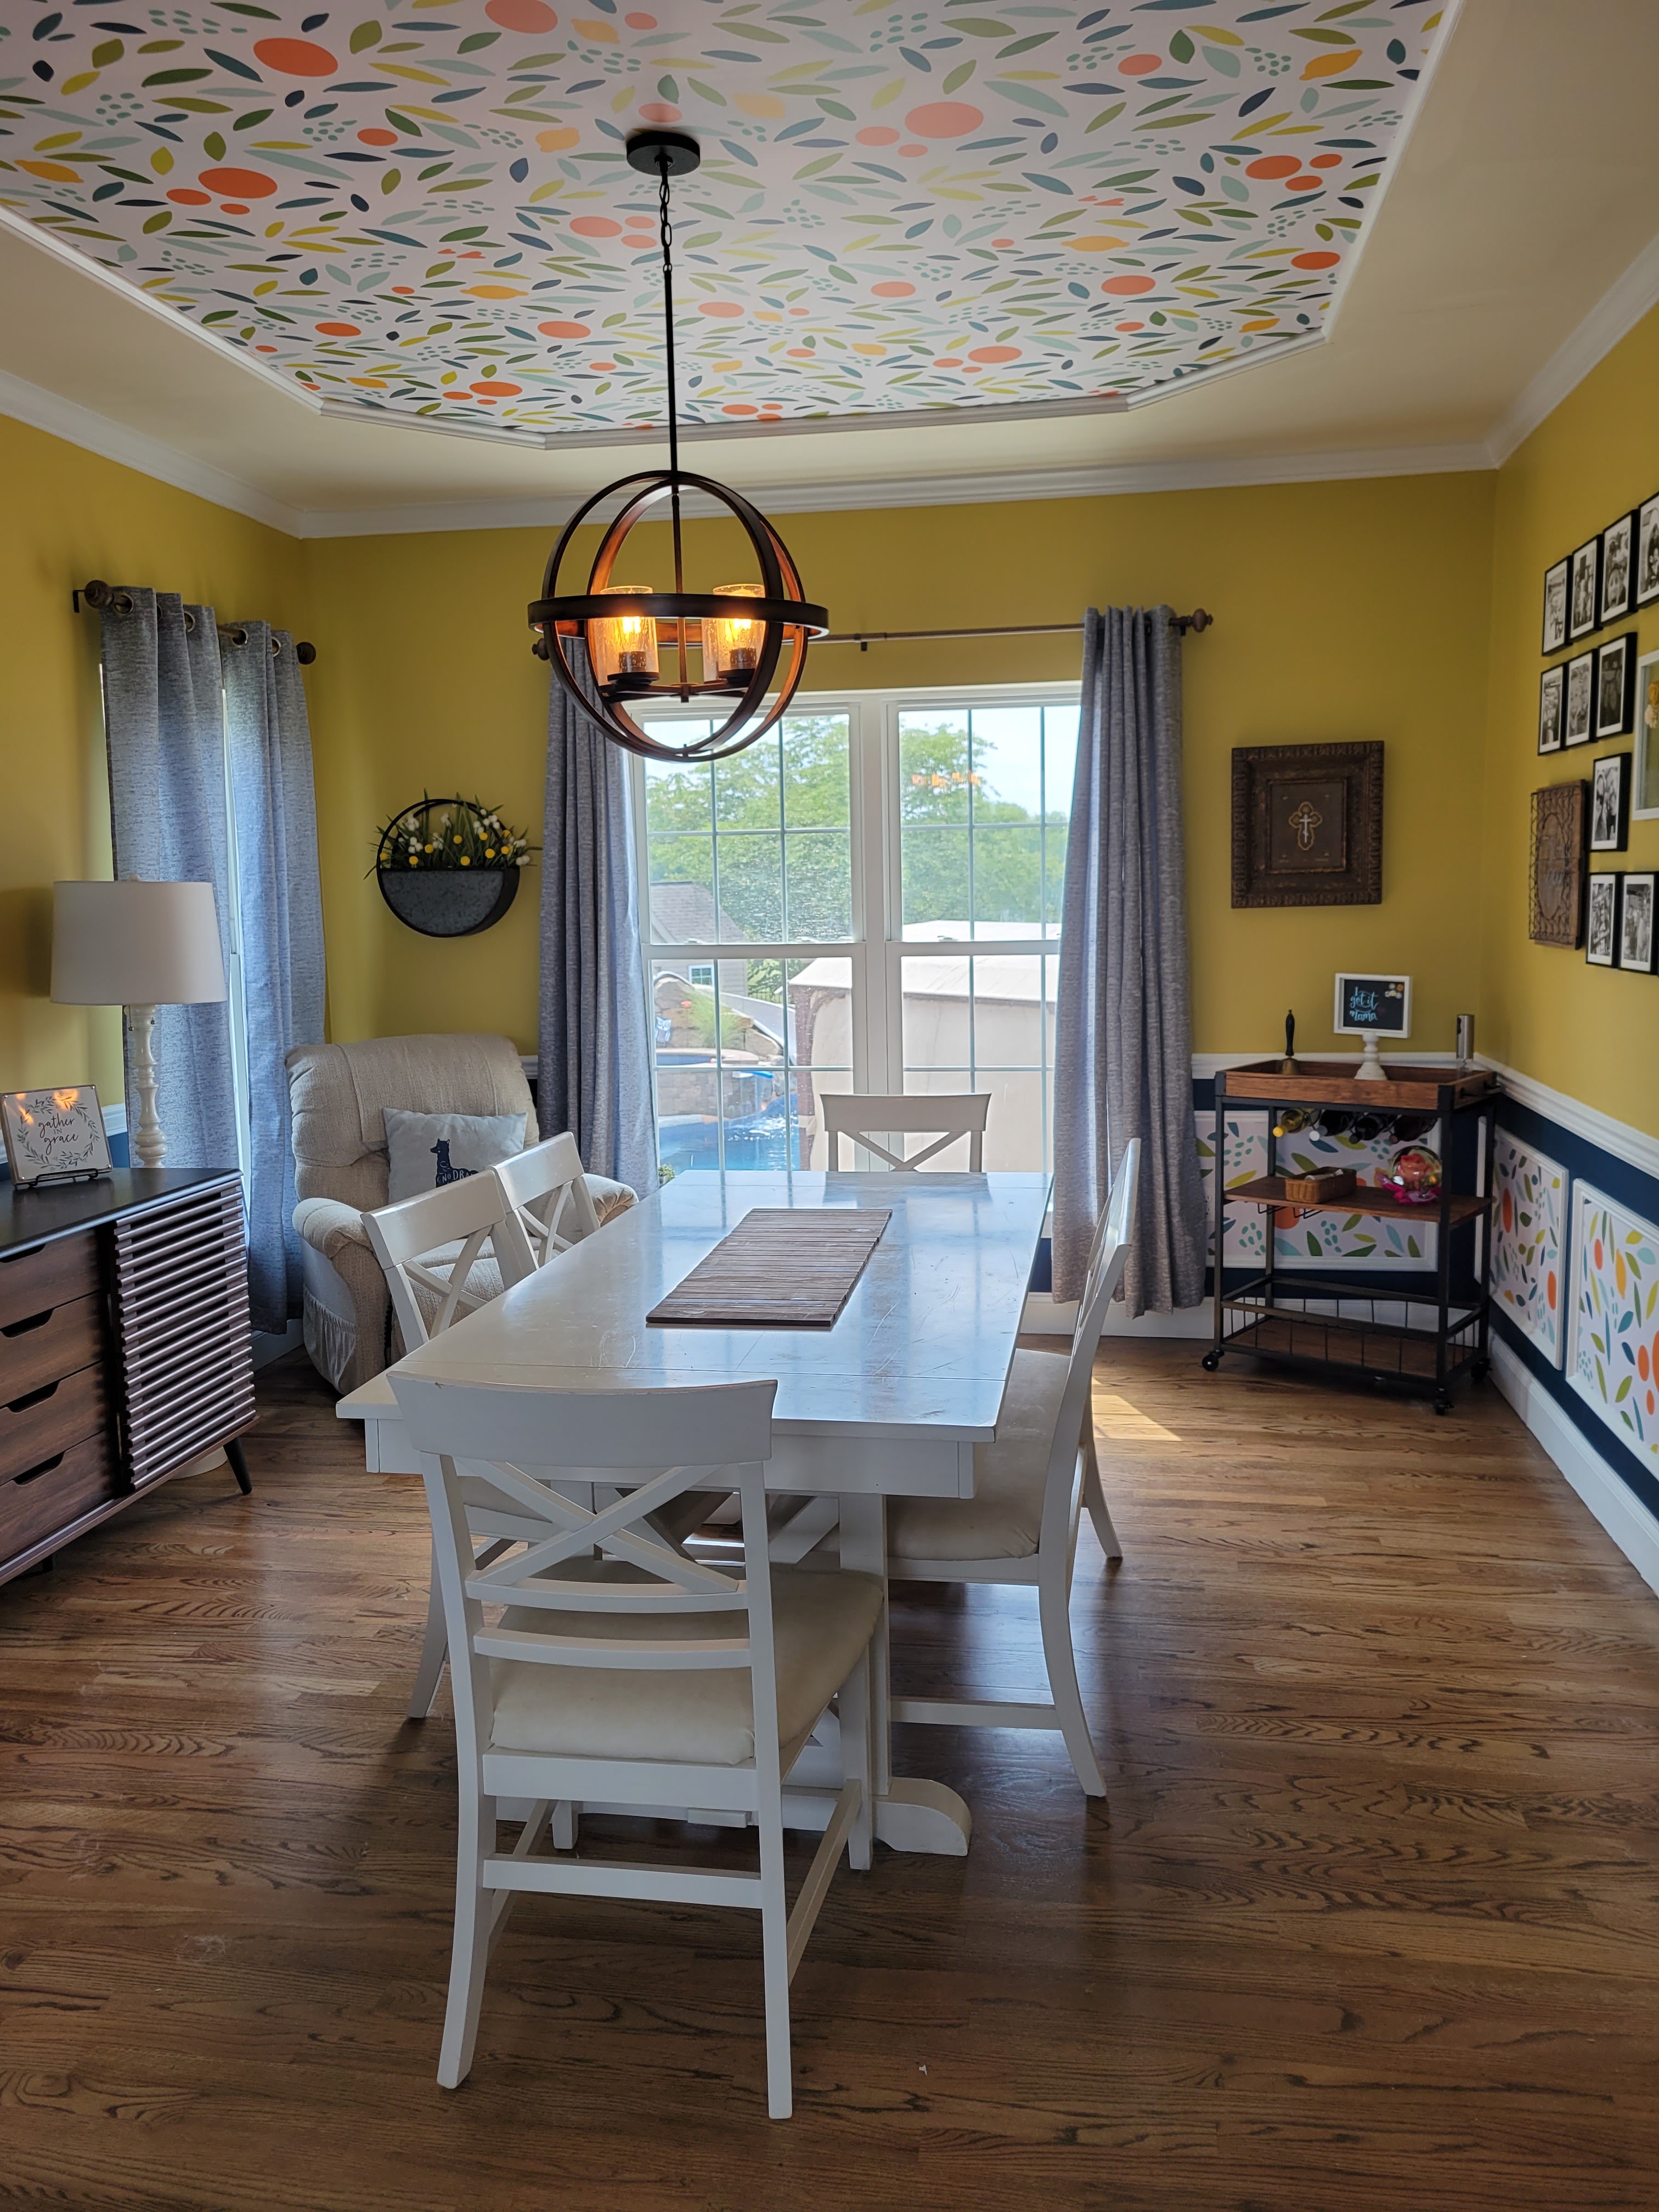
My dining room project started as any good remodel – I watched a design show! I saw them apply wallpaper to the ceiling and thought it was so interesting and unique and had to try it. My dining room was pretty plain and needed an update anyway.
I started with finding a wallpaper I liked – that was the hardest step! Honestly, there are so many choices and it is not easy to look at them in person. I stumbled across this one and had to have it! I found it on Etsy and it seemed expensive so I started to look around and try to find something like it. Unfortunately, I found nothing that measured up to this, and as my husband said, it is an investment that will last for years so get what you want!
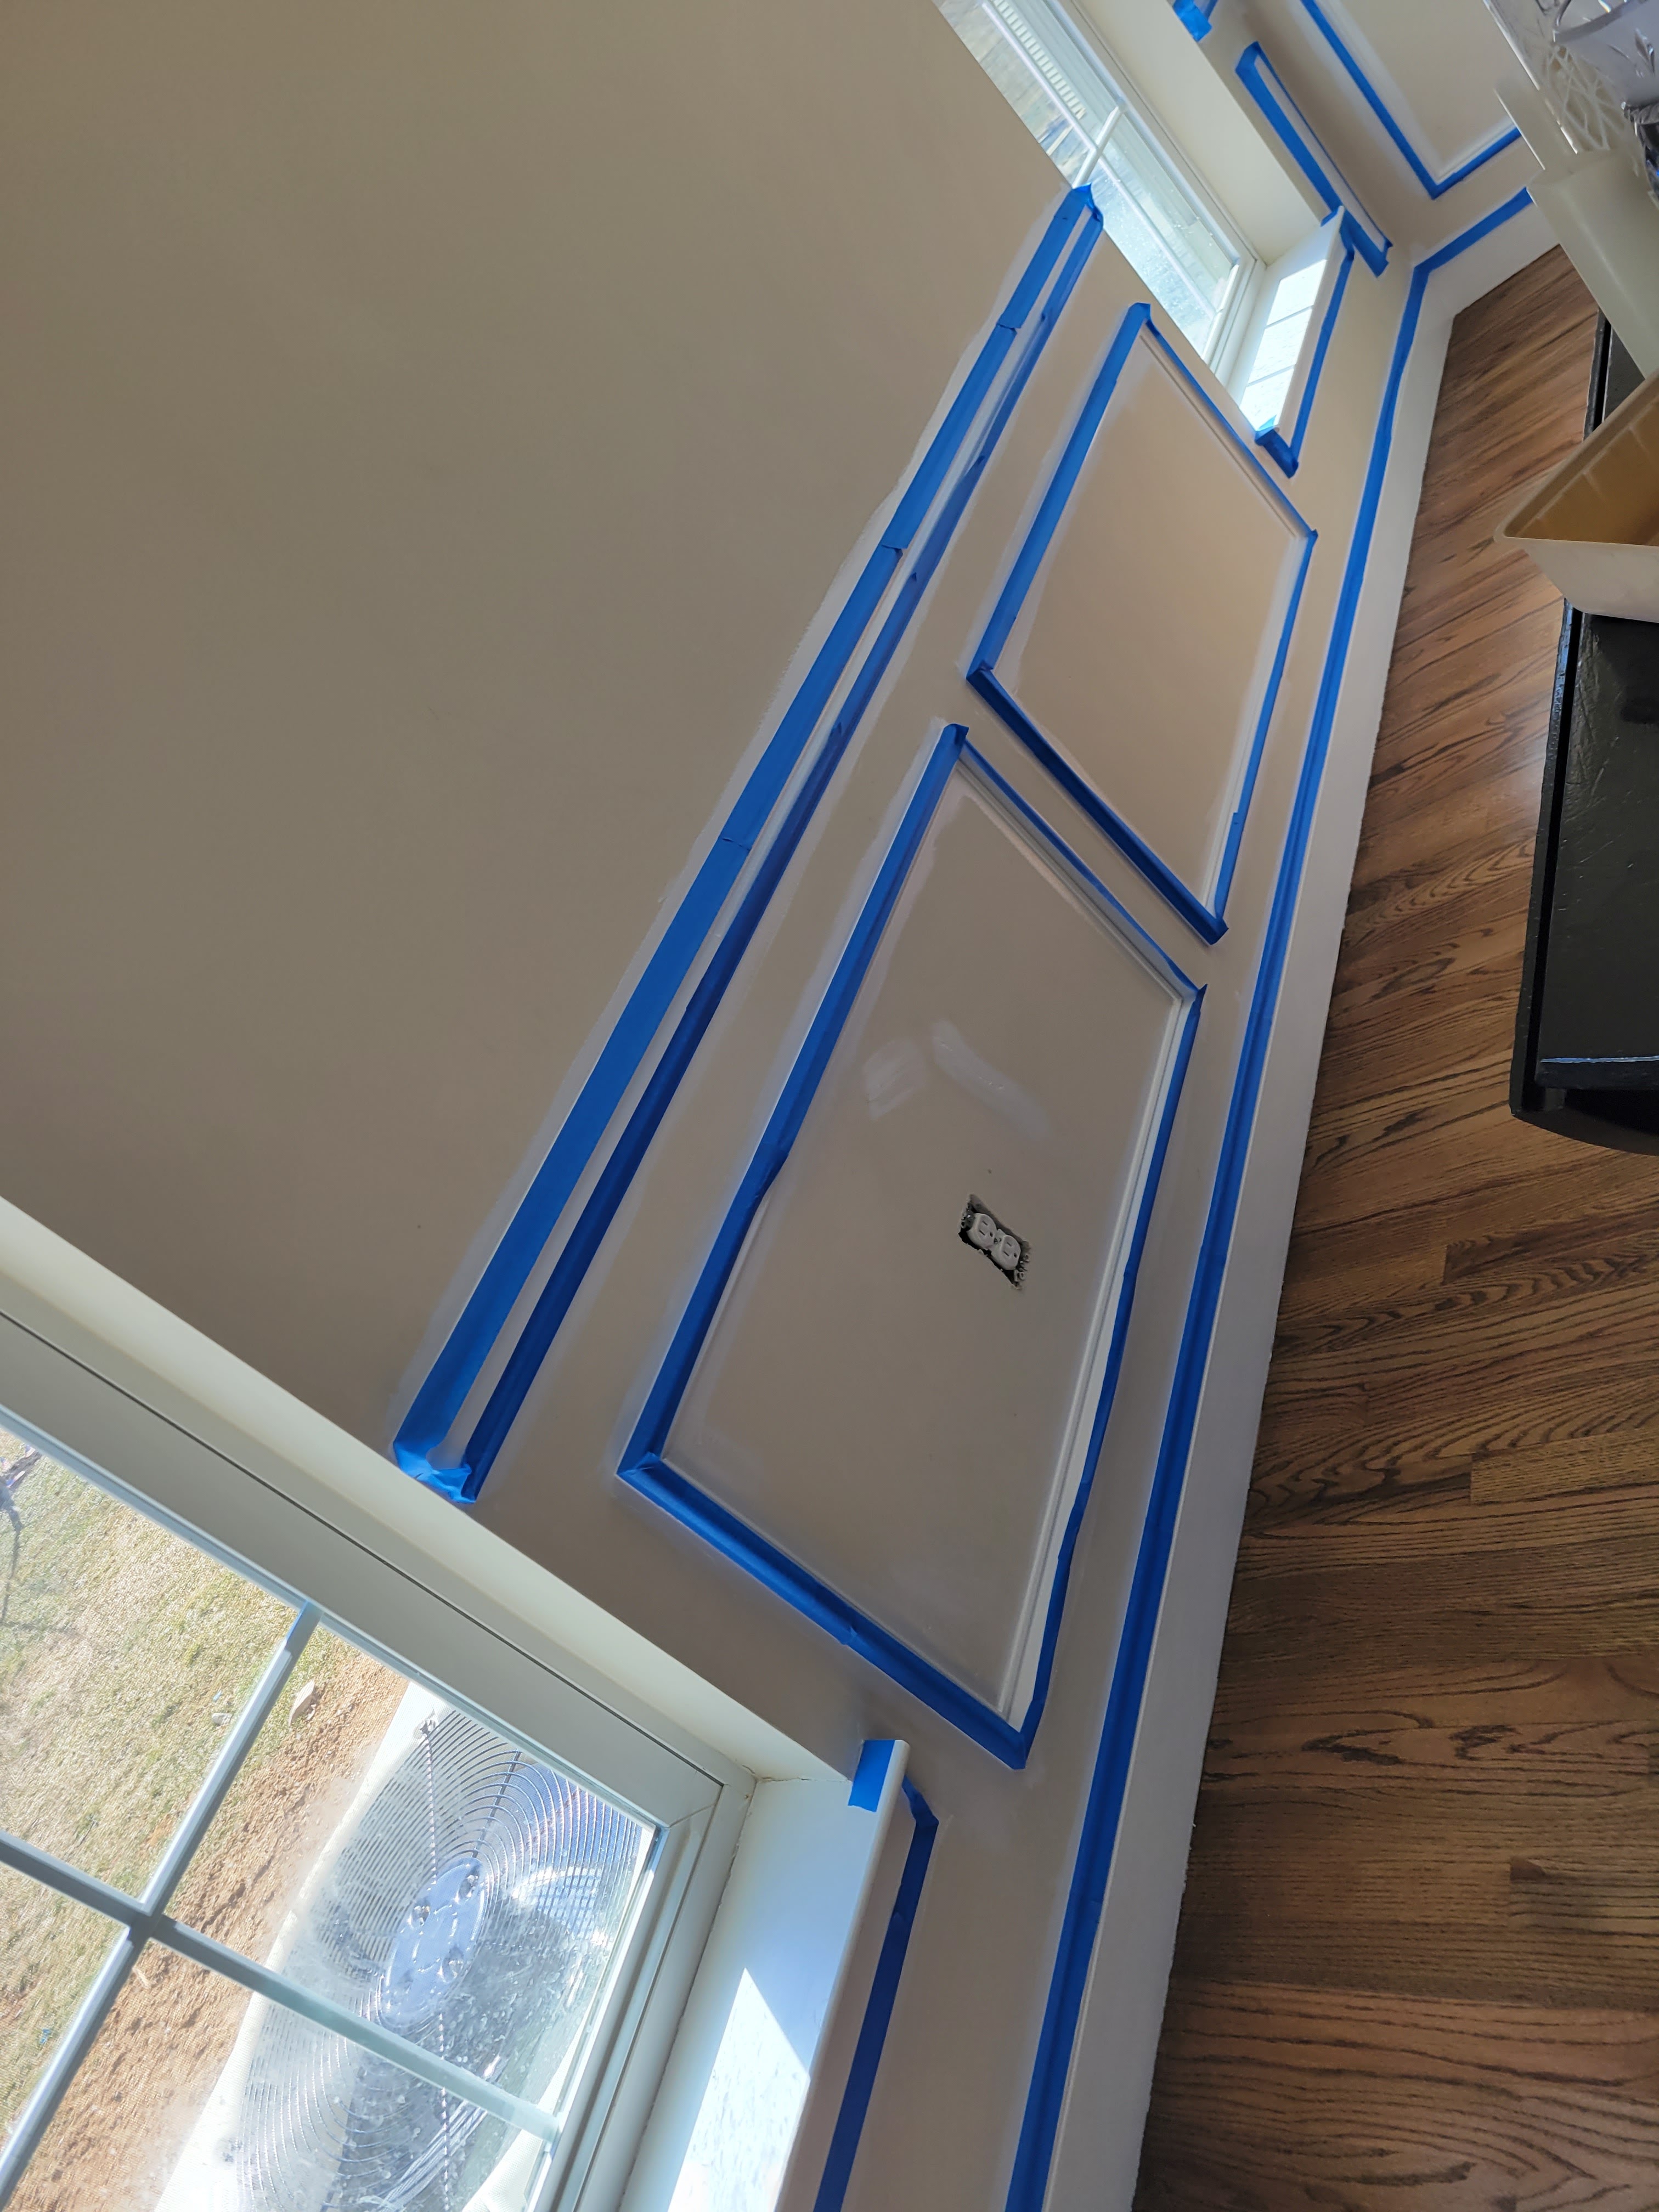
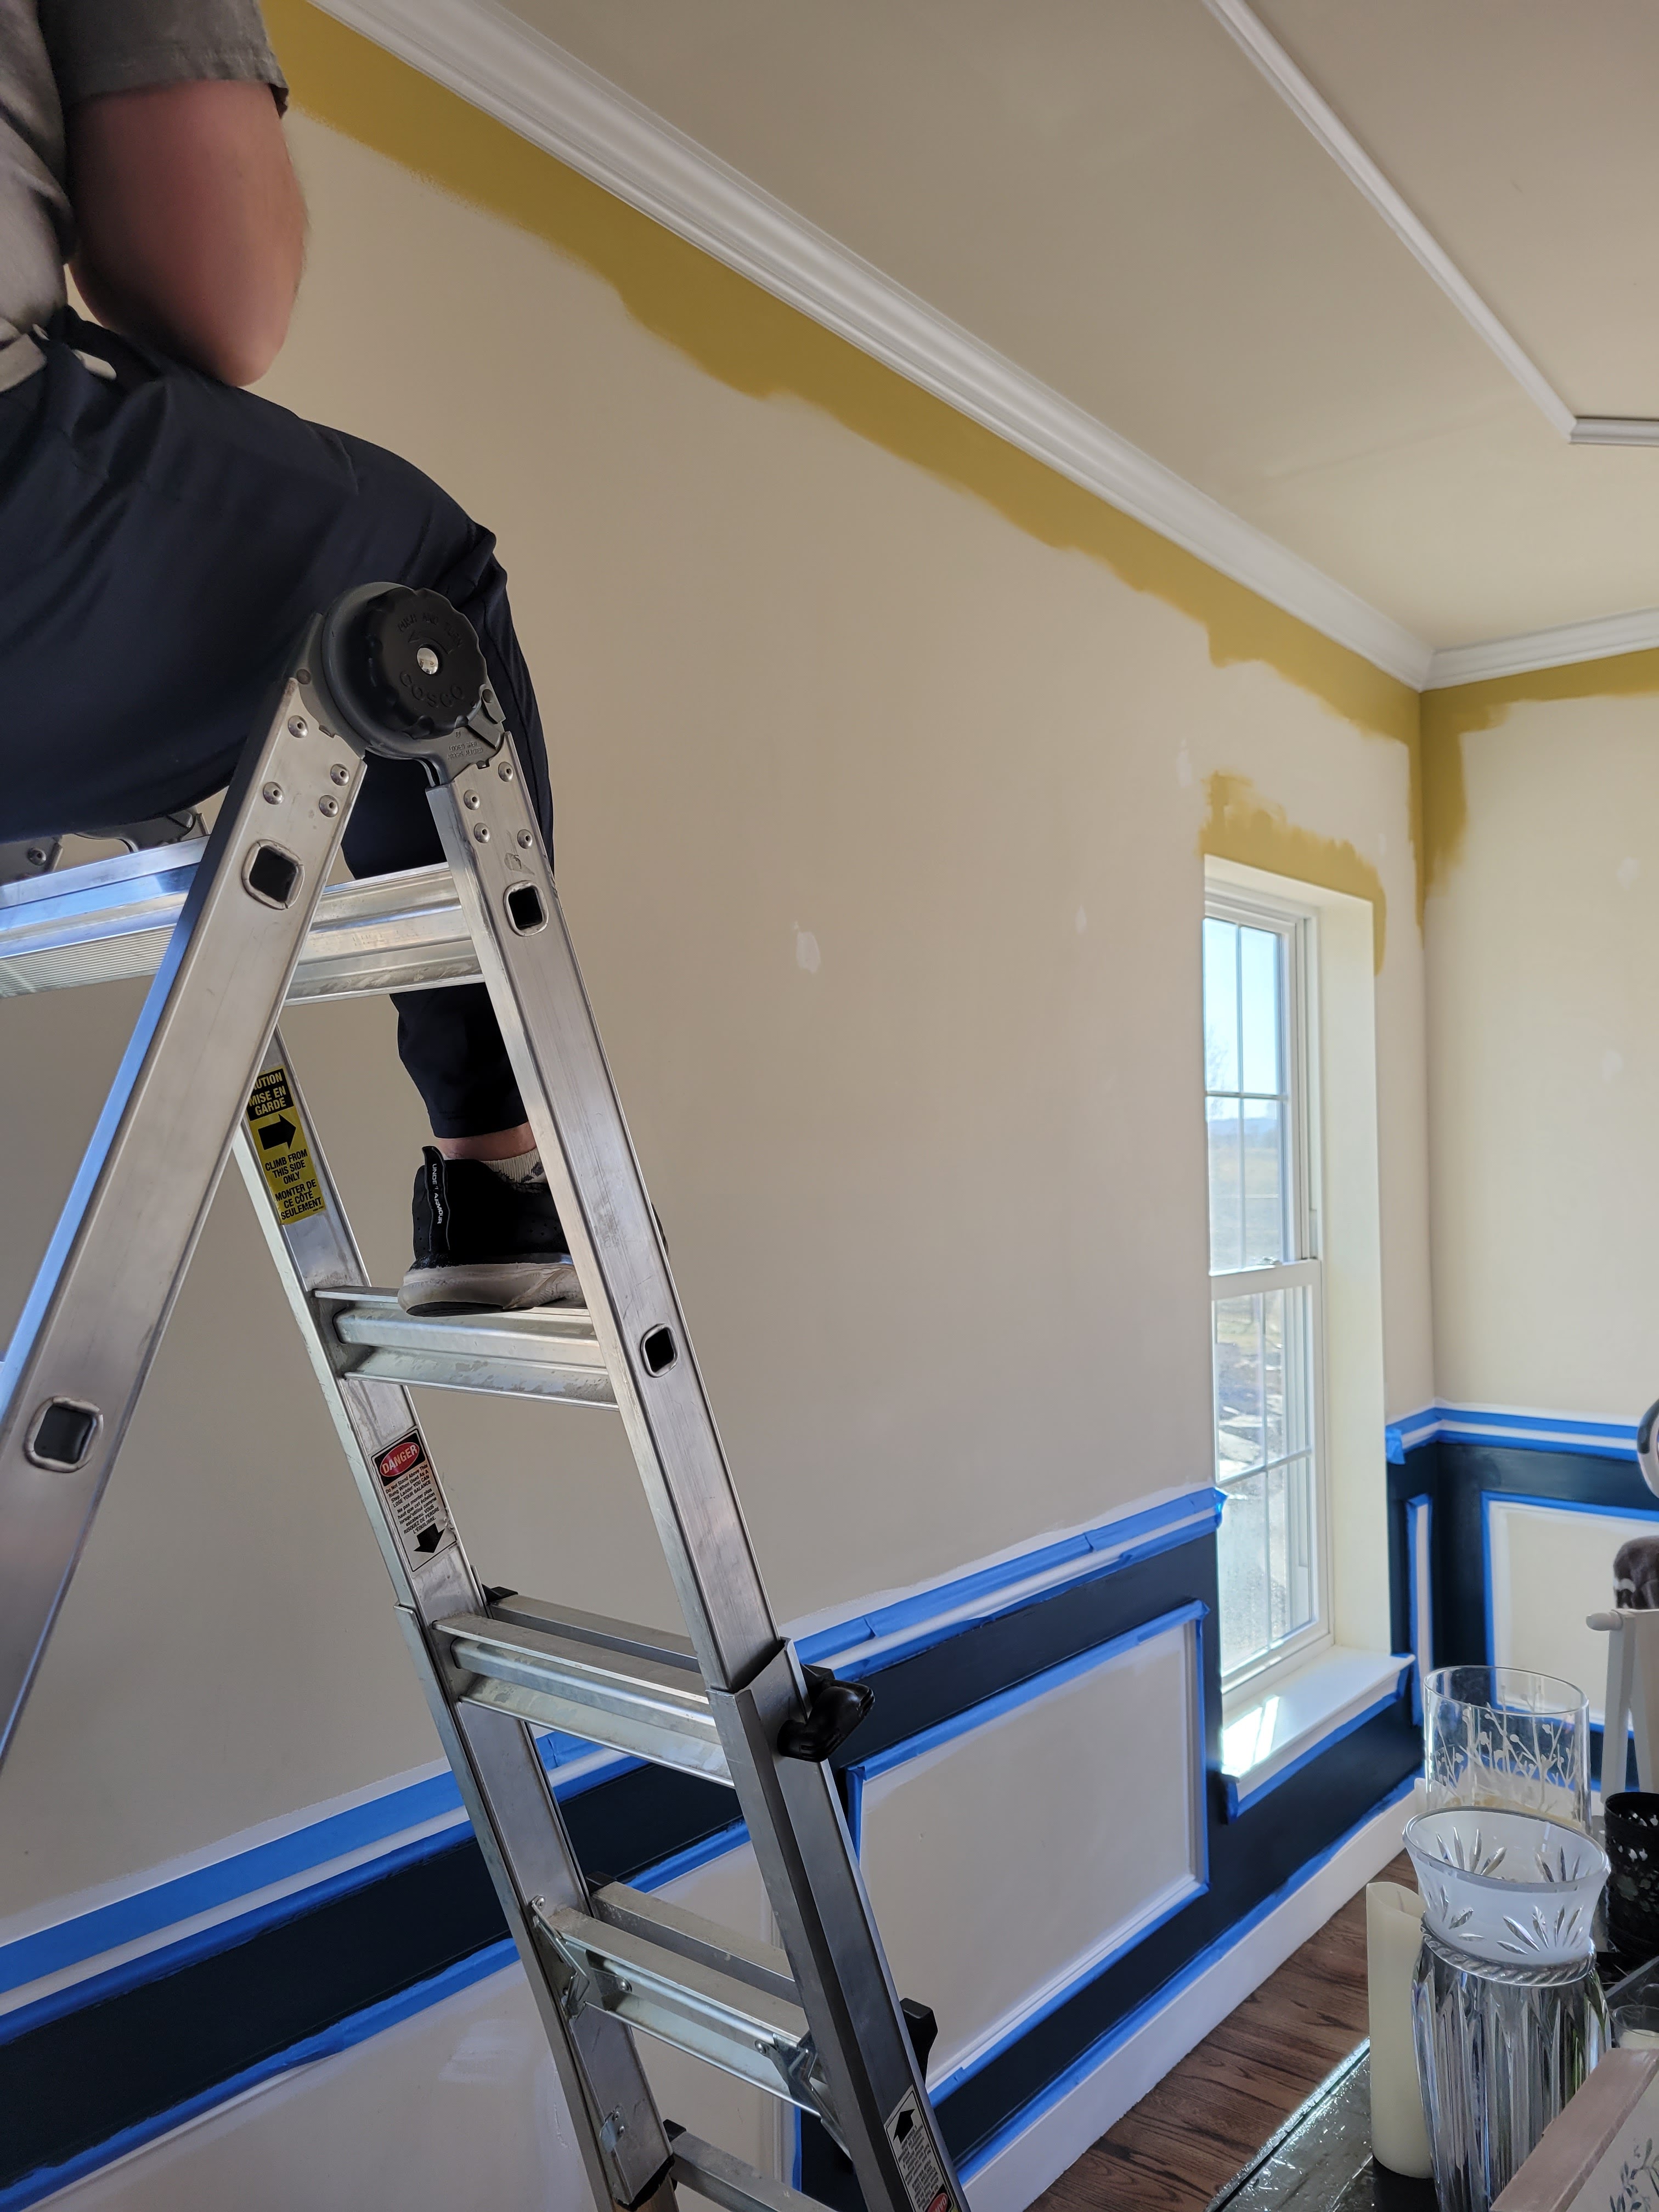
While waiting for the wall paper to arrive, I filled all the holes in the wall and painted all the trim white. Once the wallpaper arrived, I choose paint colors for the walls, tapped off the trim, and we began painting.

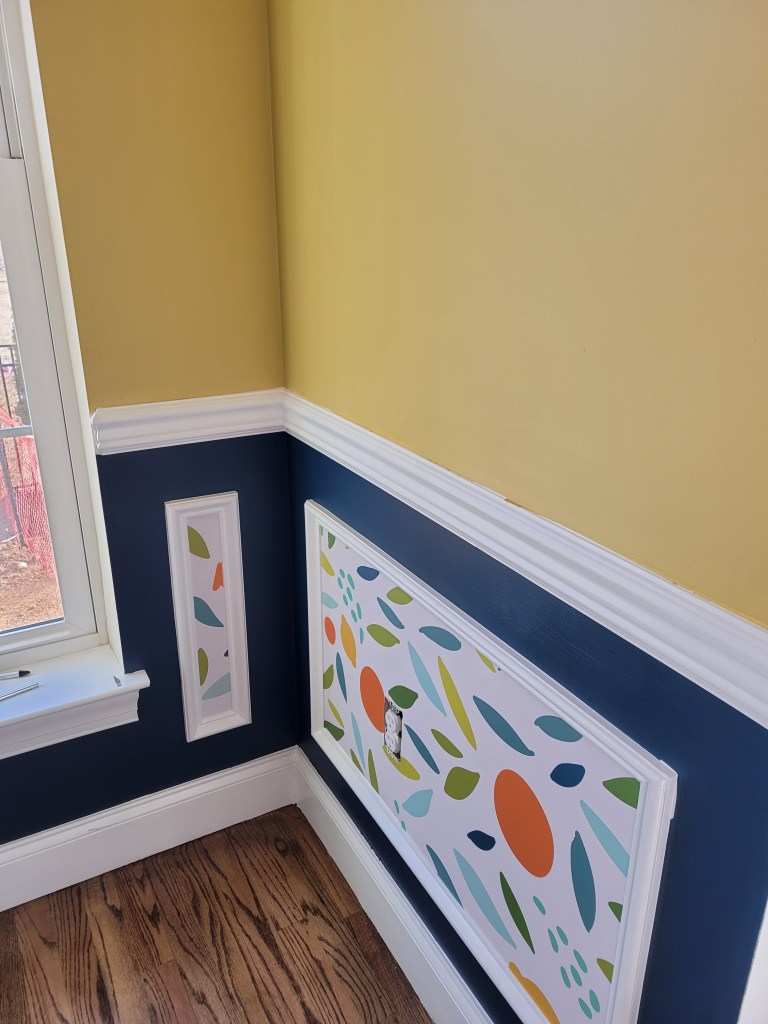
Finally, it is time for the wallpaper! I measured and cut the panels for each rectangle on the lower wall. This was peel and stick wallpaper and was very forgiving as I lined it up and installed it. For the walls, it went on without an issue and went surprisingly fast.
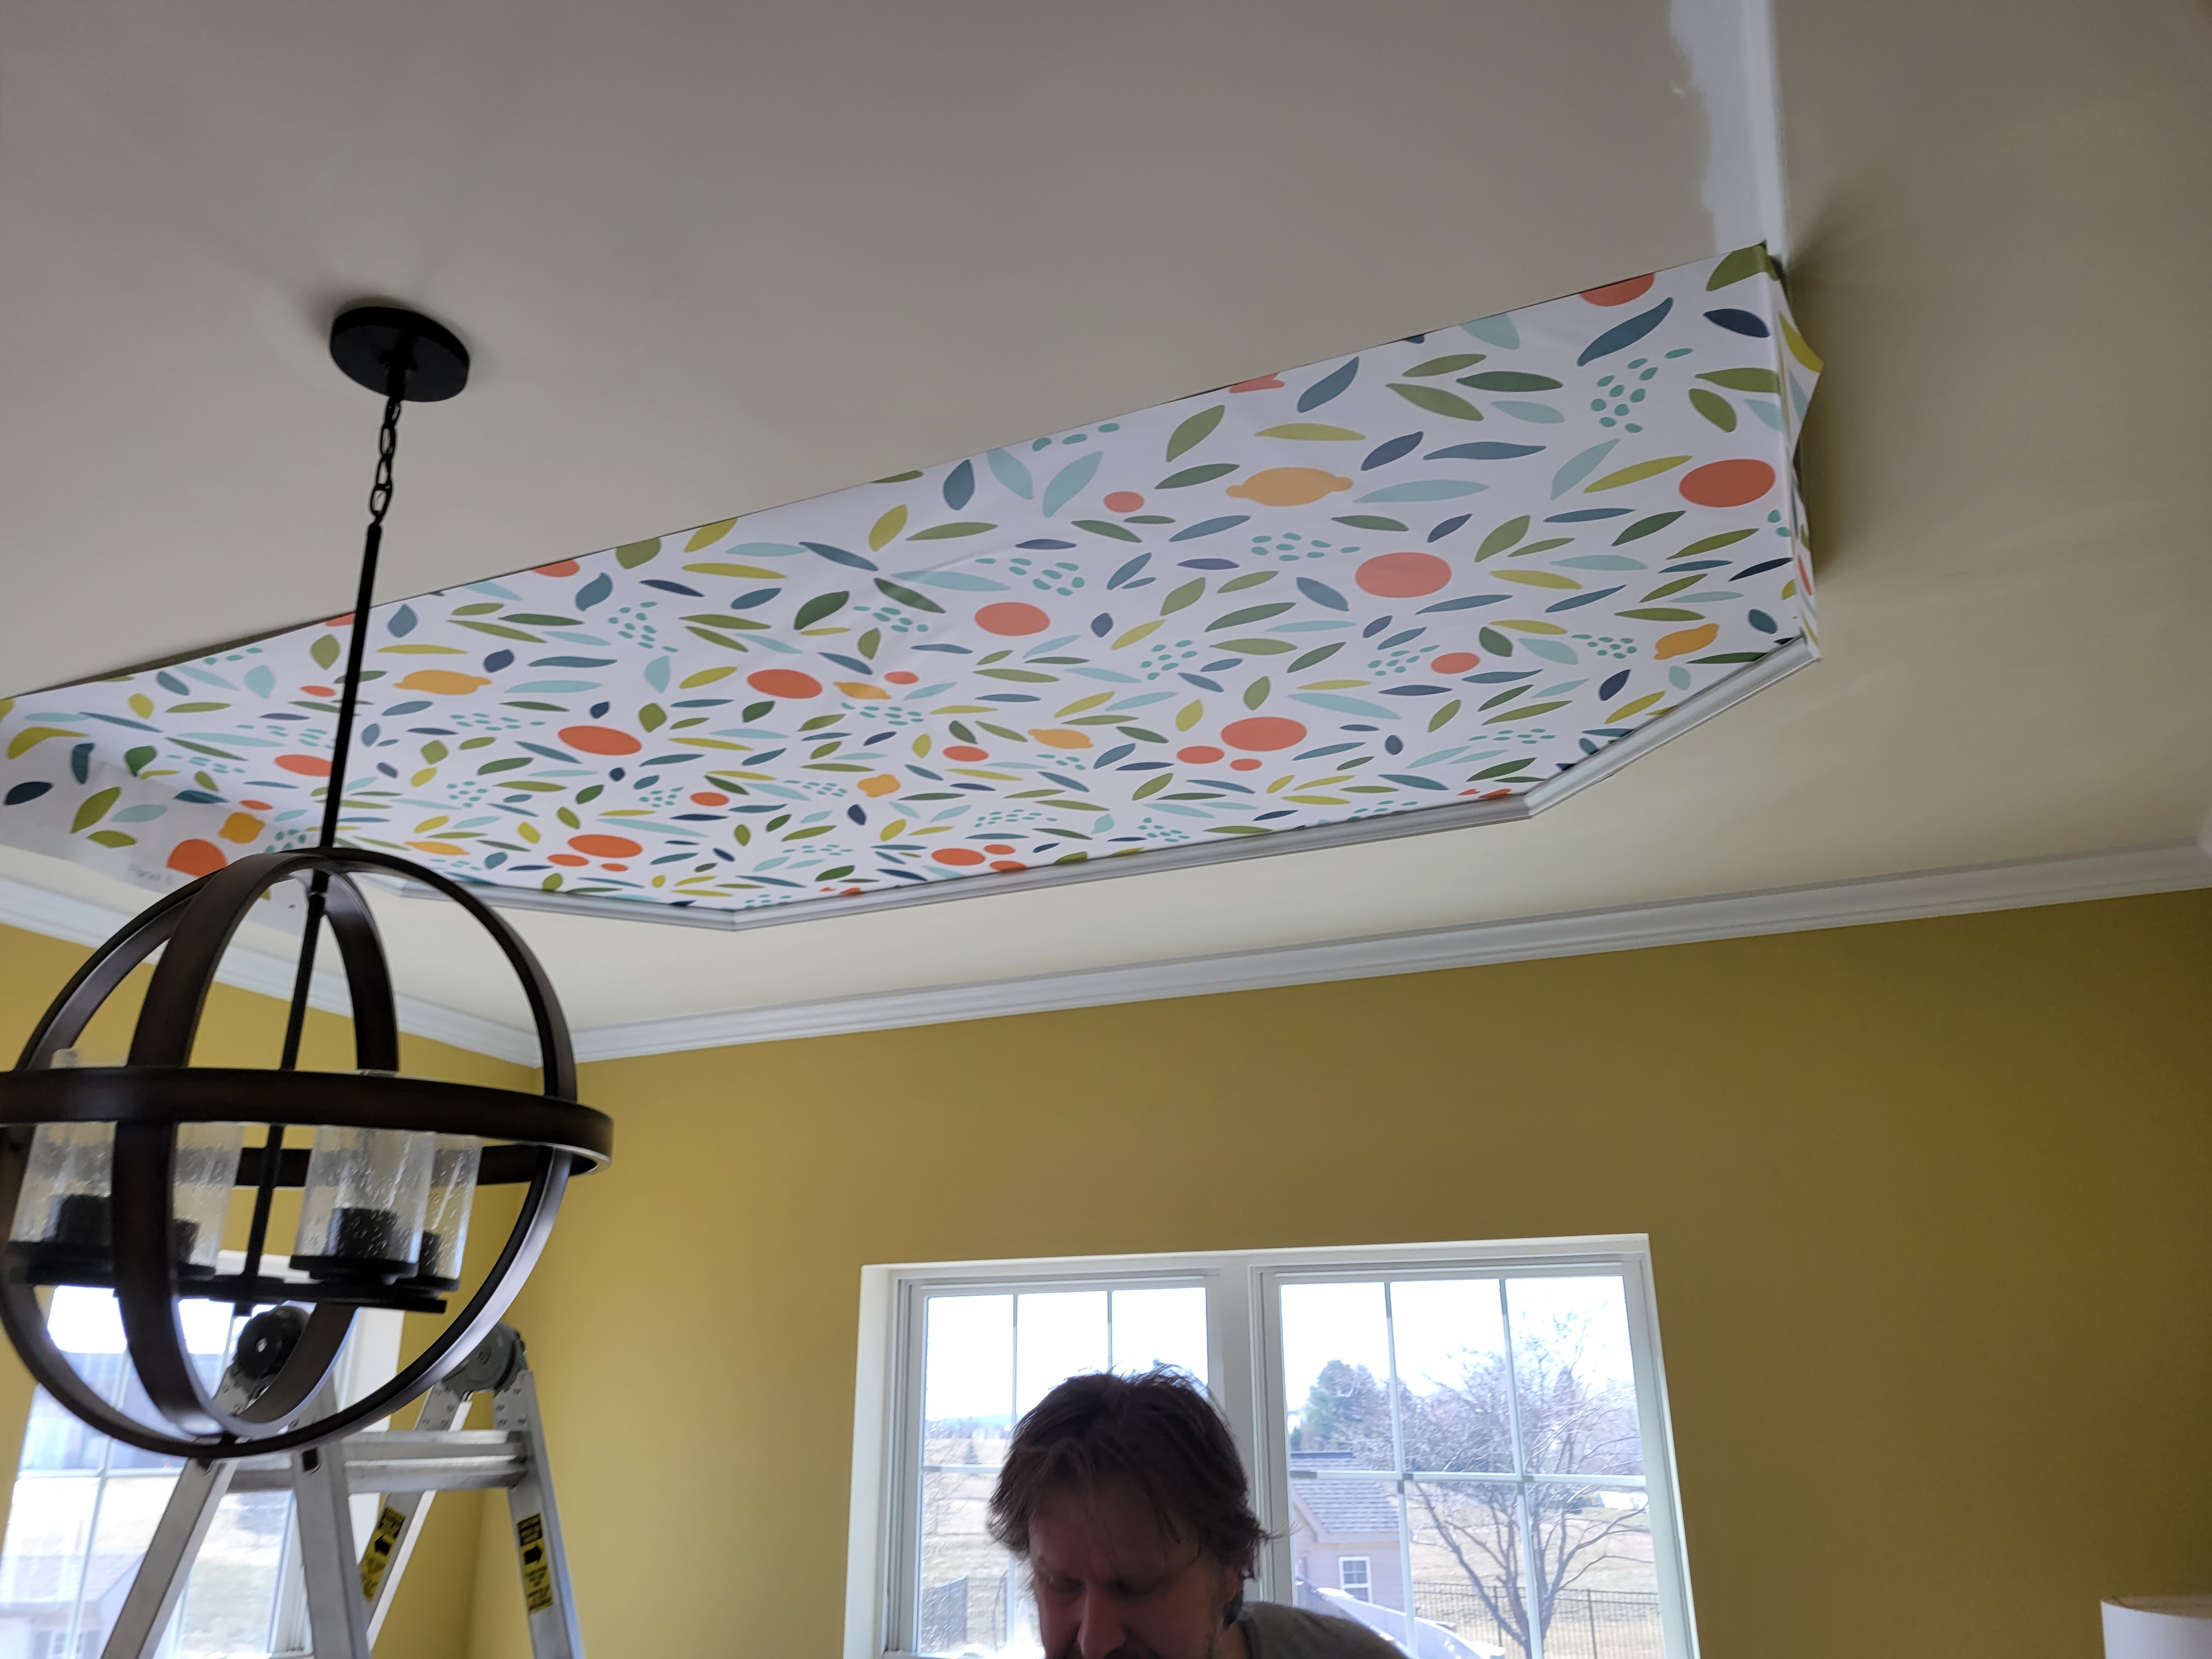
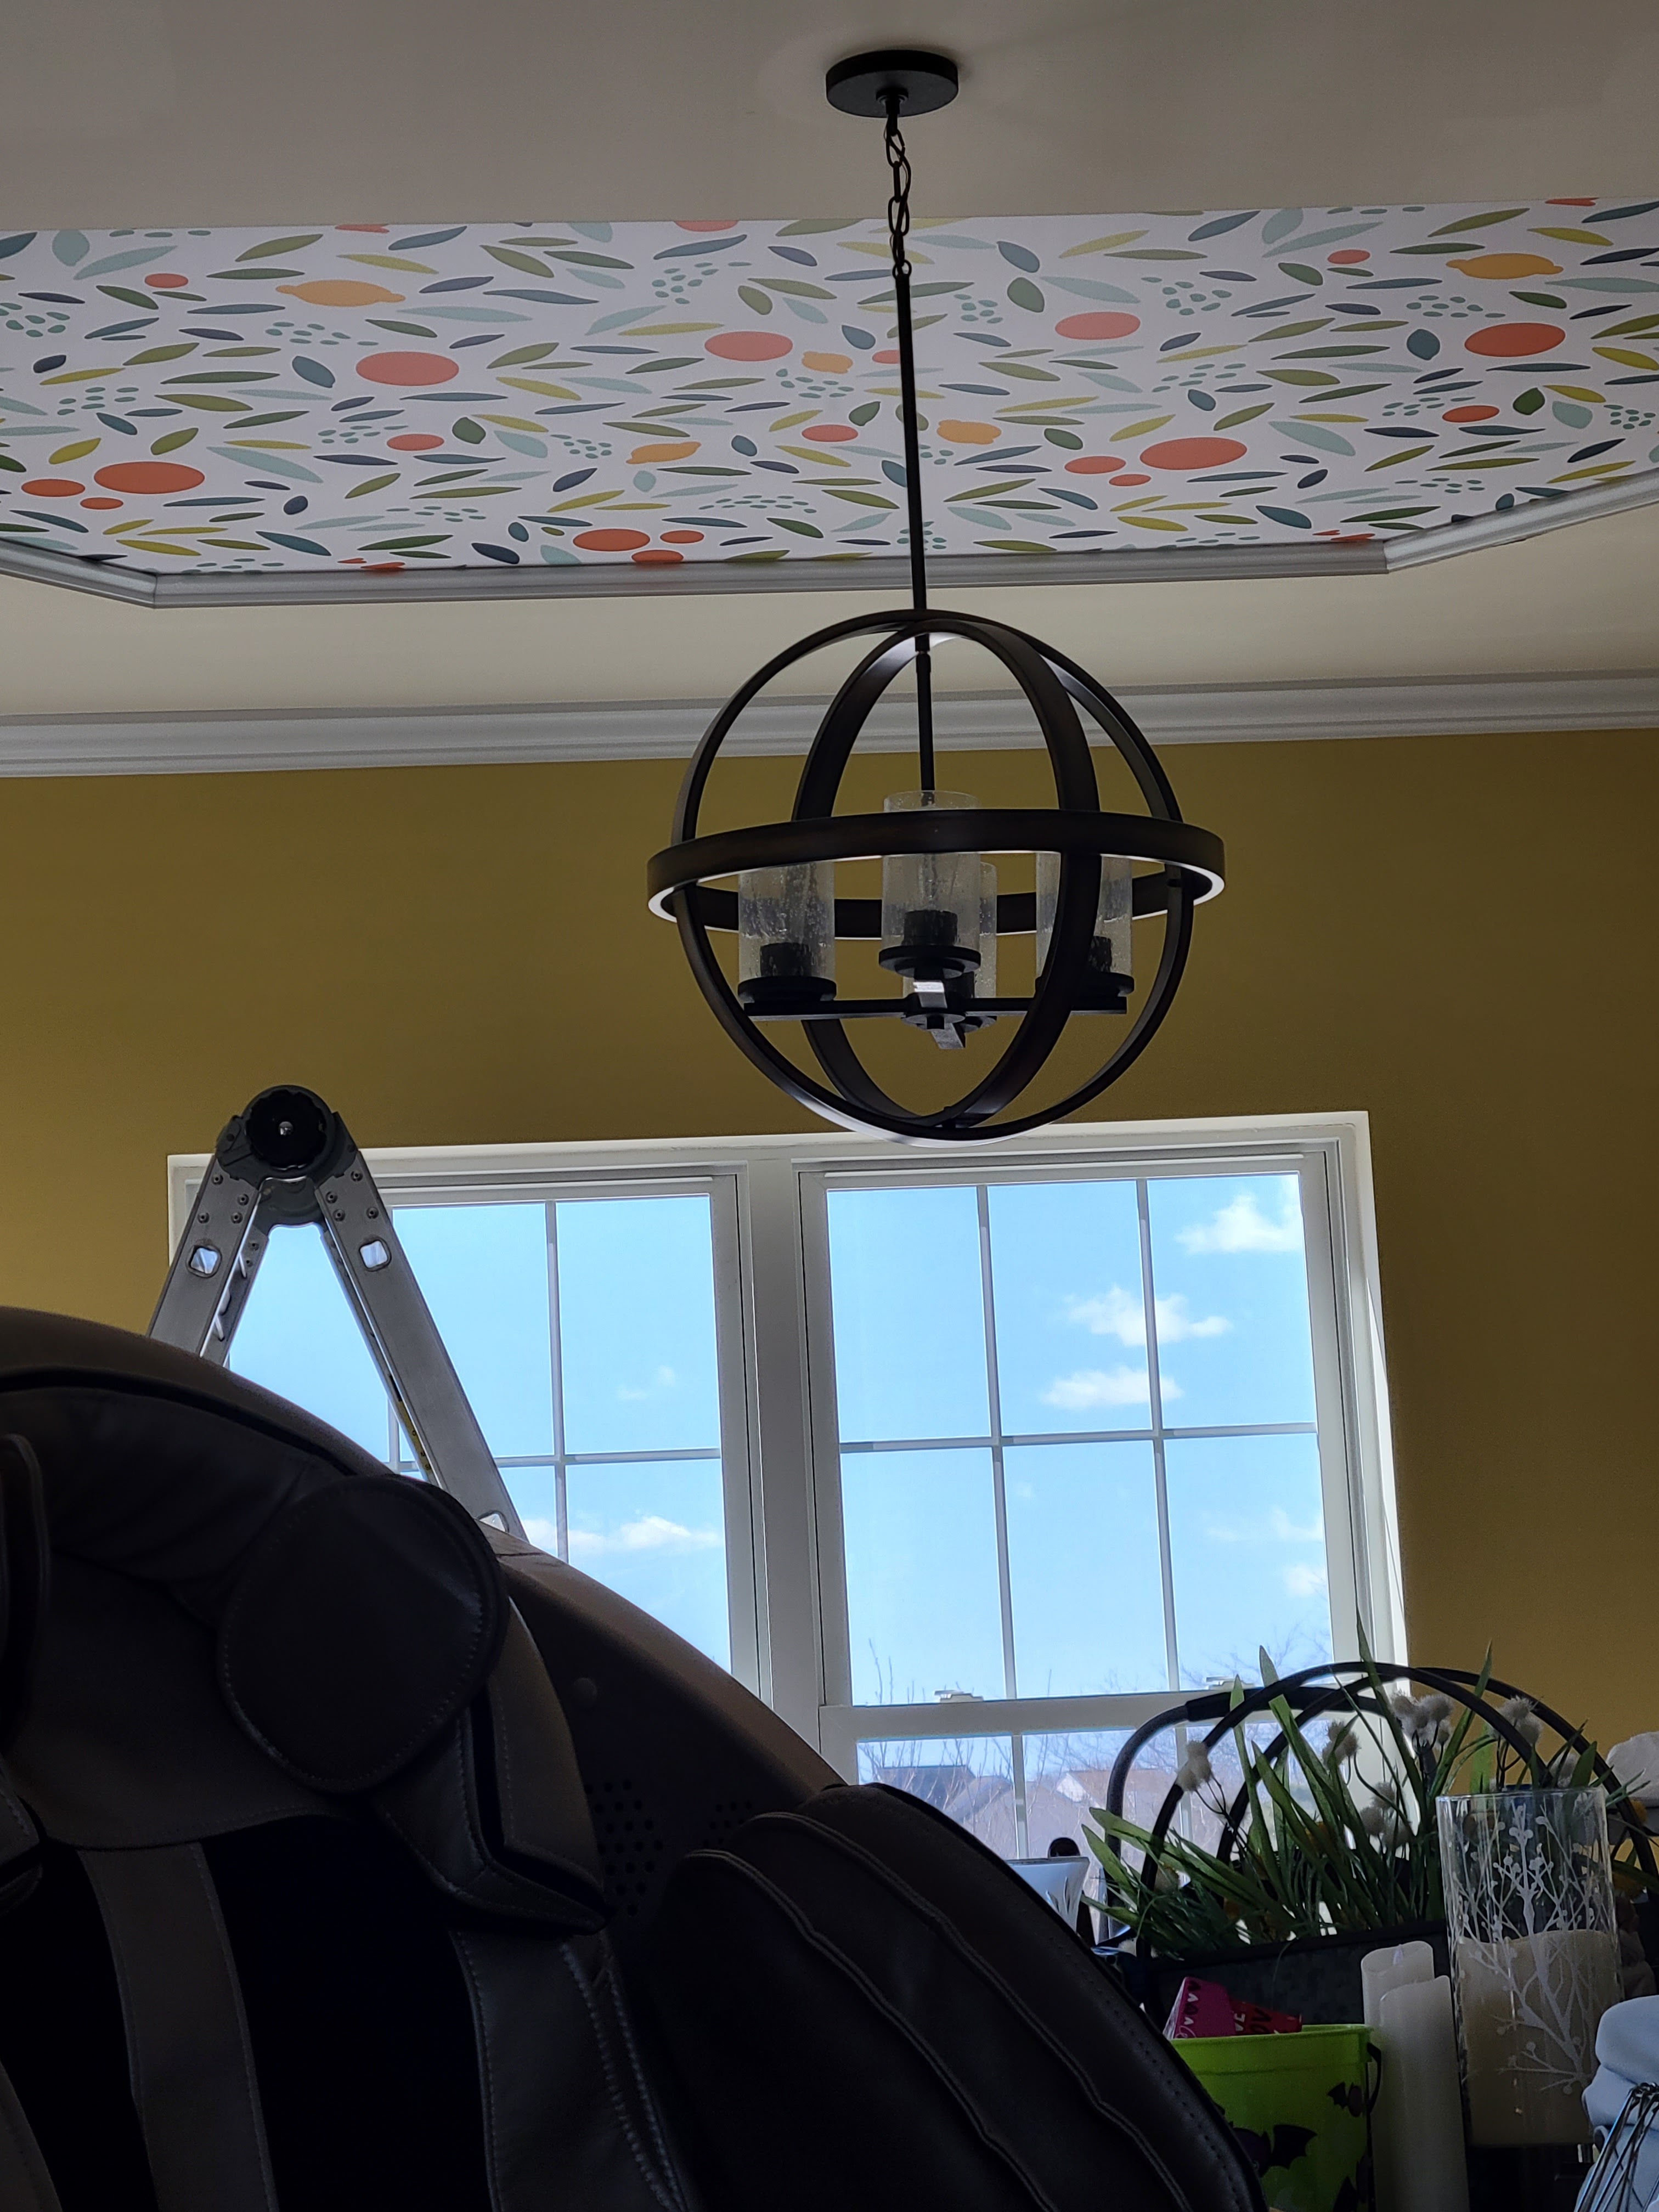
The ceiling was a bit trickier to install and took all 3 of us. Because the wallpaper was so forgiving, it made it easy to correct as we went. We used a ladder to hold the end of the wall paper panel and my son held on to it to make sure it did not slip off. I held a drywall T up to hold the middle of the panel close to the ceiling, and my husband handled the beginning of the panel, lined it up and applied it to the ceiling.
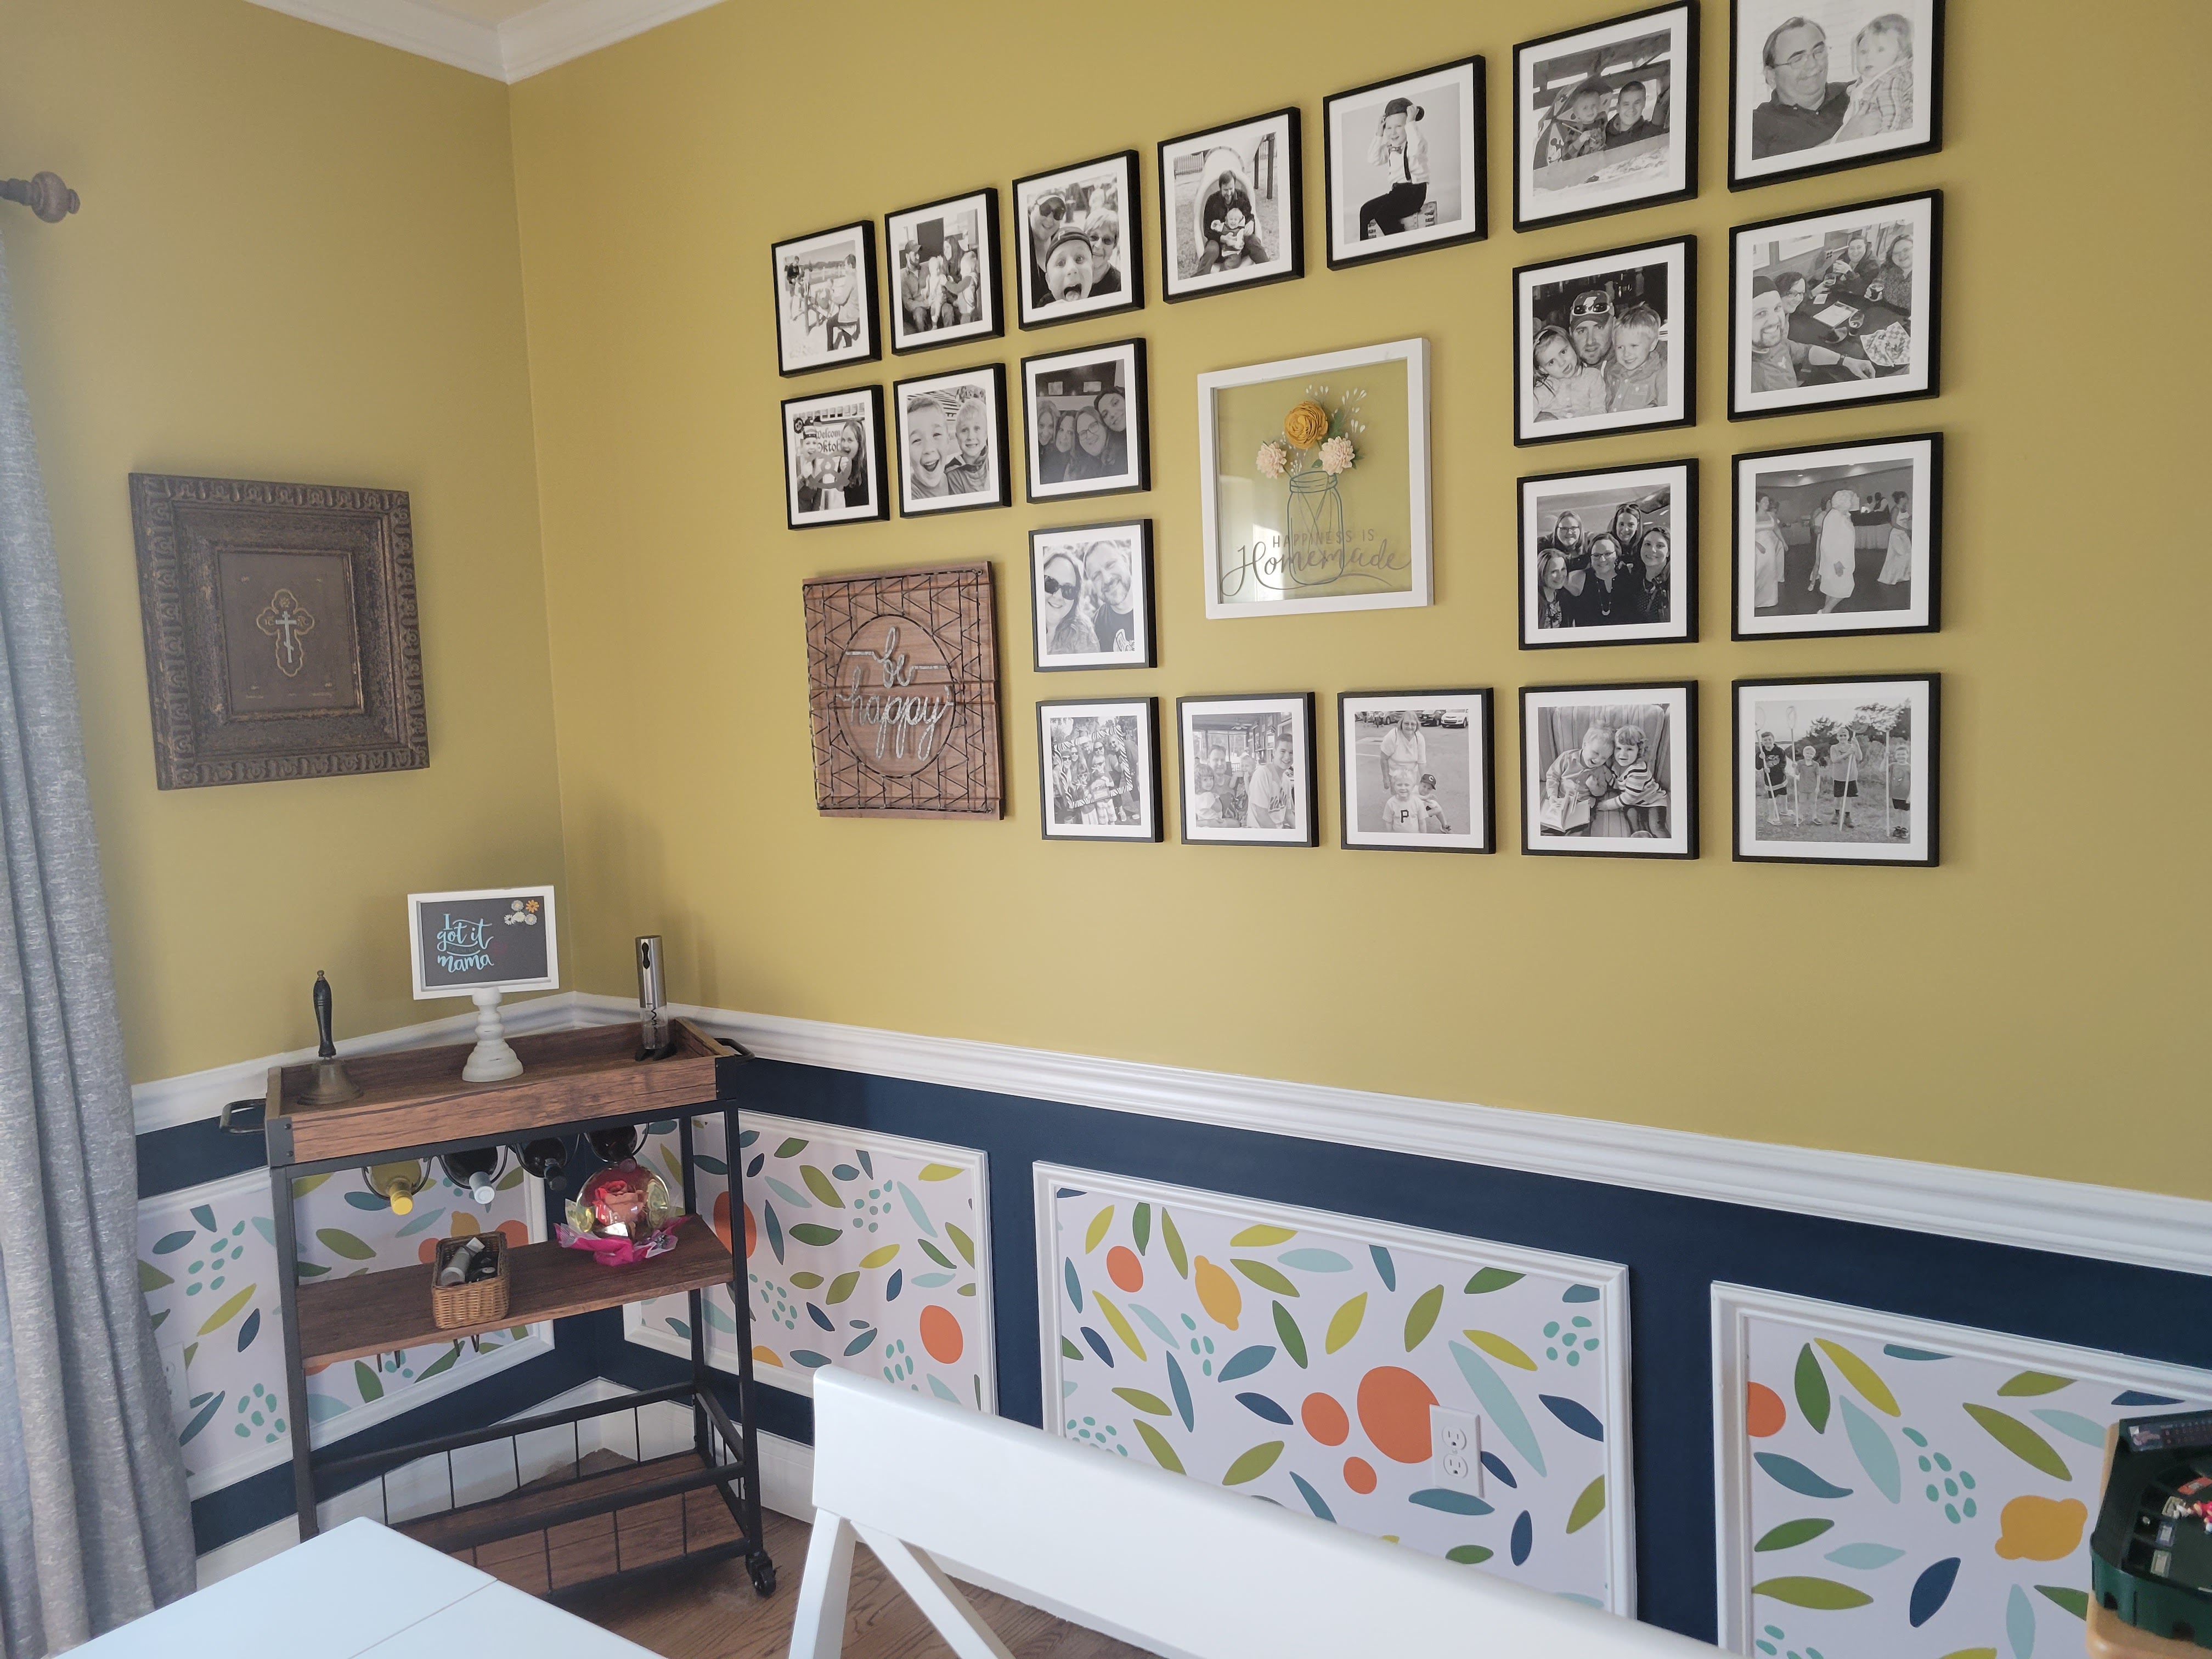
Once the walls and ceiling were finished, I kind of just lived in the space and started to plan out what I wanted to go on the walls and in the room. I had dark wood furniture to start, but then switched my tables around and I liked the white wood table much better. I found a sideboard online, added a comfy chair in the corner and used the wall hangings I had. After all that, I had a large blank wall, 2 small wall hangings and an empty corner. I found a beverage cart to balance out the chair in the corner but was still stuck on what to do on the large wall. Then I found MixTiles! I didn’t want to have the colors of the pictures fight with the pattern and colors already in the room, so I changed them all to black and white. The tiles are easily re-positional and light weight. I mixed in my 2 smaller wall art pieces and I love how it turned out.